How To Insert Images In A Word Document?
MS office word is generally used for writing text. However, you may like to insert picture as well because it can help in making the document illustrative as well as interesting. This is the reason we shall provide you with the right steps that can help in inserting pictures in your word file.
- Open the MS office word file in which you want to insert picture.
- Move over to the cursor to the part where you want to stick the picture.
- Click the “Insert” tab present in the top row.
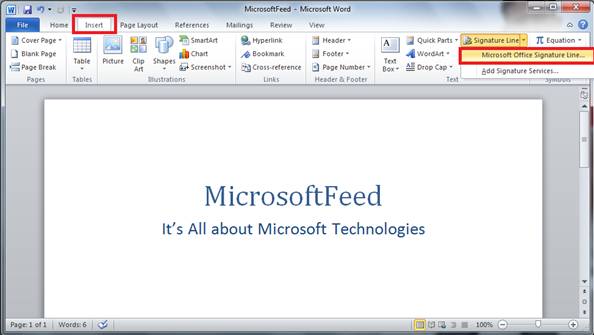
As you can see in the above screenshot, you need to move to the insert tab where you find the different options.
- Move to the “picture” option to insert pictures which are located on the disk.
- If you want to insert “clip art”, select the “Clip Art” option from the insert tab.
- After you click the “Picture”, a dialog box opens.
Provided above is the screenshot for the dialog box that pops up after clicking Picture.
- In the dialog box, you can select the right picture to be inserted by moving over to the right drive in your computer.
- After you have found the right picture, click the picture and then click “insert” which is present at the bottom right corner.
As you can see, after the right picture has been spotted, you need to click it and then select insert.
- After you click “Insert”, the picture is inserted in the MS office word file.
- The image can then be formatted as the picture is provided with tools for rotating and resizing.
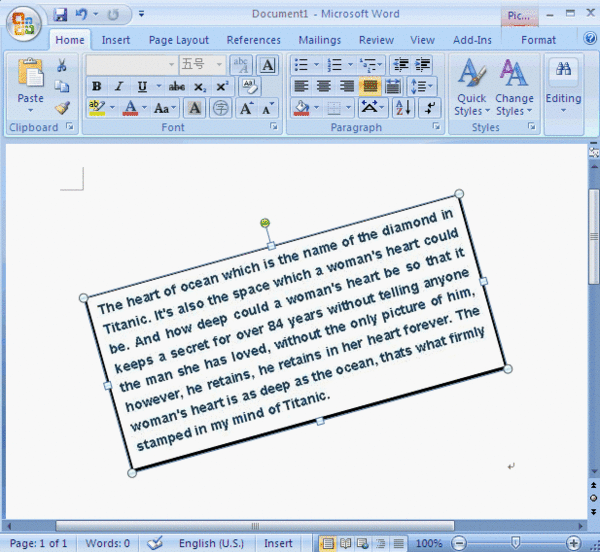
As you can see, the picture can be easily rotated and even resized.
- The rotating tool is present right in the center of the picture. You can move it right or left to turn the picture.
- At the corner of the picture, there are arrows provided which can be used for increasing or decreasing the size.
Thus, using the above steps you can insert a picture and format it to make the document illustrative.
How To Insert A Picture That Is Not Present On Your Disk
For inserting files that are not present in your hard disk drive, you can use two different options.
- First of all, you can simply save the picture on to your disk by right clicking on the image and selecting “Save image”. After you have saved the image on to a location in your computer, you can use the same process as above for inserting the picture.
- Secondly, you can simply copy the image by right clicking on the image and selecting the option “Copy Image” or simply use the keyboards shortcut Control + C. After you have copied the image, move to the MS office word file and scroll to the part where you want to insert the image. Right click on the position where you want to insert and then click “paste” or simply use the keyboard shortcut Control + V.
After you have done this, the image gets pasted on the word file and you can format it for your use with the help of formatting tools like rotating tool or resizing tool.
Thus, this is the main way you can paste the pictures in the word file. Try and paste random pictures to get a hang of things. Using pictures and incorporating them in your MS office word file may help in making impressive documents. So, follow these steps to learn the use of some of the basic tools of MS office word.